A Step-by-Step Guide to Repairing Wire Shelves
8/13/20242 min read


Introduction
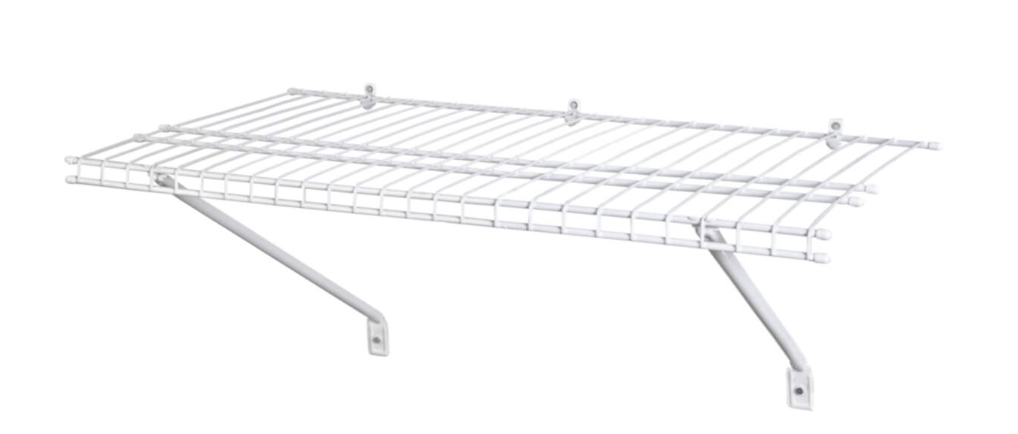
Wire shelves are a popular choice for storage in homes, garages, and offices due to their durability, versatility, and ease of installation. However, over time, these shelves can develop issues like sagging, rusting, or even breaking. Fortunately, most of these problems can be fixed with some basic tools and a little know-how. In this guide, we’ll walk you through the steps to repair wire shelves and get them back in top condition.
Common Issues with Wire Shelves
Before diving into repairs, it’s essential to understand the common issues that wire shelves face:
Sagging shelves: Overloading or improper installation can cause the shelves to sag. This not only affects the shelf’s appearance but can also compromise its structural integrity.
Rusting: Wire shelves, especially those used in humid environments like bathrooms or garages, are prone to rust. Rust can weaken the wires and shorten the shelf's lifespan.
Breaking: Over time, the wires can snap or break due to repeated stress or impact, making the shelves unusable.
Tools and Materials Needed
To repair your wire shelves, gather the following tools and materials:
Wire cutters
Rust remover
Steel wool or a wire brush
Protective coating or paint
Replacement wire or shelf brackets
Measuring tape
Level
Safety glasses and gloves
Step-by-Step Repair Guide
Now that you have the necessary tools and materials, follow these steps to repair your wire shelves.
1. Assess the Damage: Start by evaluating the condition of your wire shelves. Identify the issues, whether it's sagging, rusting, or breaking, and determine the extent of the damage.
2. Remove the Shelves: Carefully remove the wire shelves from their brackets or supports. This step will give you easy access to all parts of the shelves for repair.
3. Clean the Shelves: Use steel wool or a wire brush to remove any rust, dirt, and debris from the shelves. Apply rust remover if necessary. Cleaning the shelves ensures that the repair materials will adhere properly.
4. Reinforce Sagging Shelves: If your shelves are sagging, consider adding additional support brackets or replacing existing ones with stronger brackets. Measure and install the brackets at appropriate intervals to prevent future sagging.
5. Fix Broken Wires: For broken wires, use wire cutters to remove the damaged sections. Cut a piece of replacement wire to the appropriate length and use pliers to securely attach it to the existing wire structure.
6. Apply Protective Coating: After making the necessary repairs, apply a protective coating or paint to the shelves. This step helps prevent future rusting and keeps the shelves looking good as new.
7. Reinstall the Shelves: Once the repairs are complete and the protective coating is dry, reinstall the wire shelves on their brackets or supports. Use a level to ensure they are properly aligned.
Conclusion
By following this step-by-step guide, you can easily repair your wire shelves and extend their lifespan. Regular maintenance and prompt repairs can keep your wire shelving in top condition, providing reliable storage solutions for years to come. However if you are finding it too difficult, feel free to reach out and we will gladly help.
📞 647-835-2071
✉️ ken@416handymantoronto.com
